There are many different kinds of basic manicures, but this one is the most basic gel manicure, even though many other details are usually added (these details come up later on in the learning processes).
- After you’ve cleaned the cuticles, and shaped the nails.
- It is best if the client washes their hands after this process and dries them with a paper towel, to ensure any dust or pieces of dead skin were not still attached to the nail.
- Next you will coat the nails with a rubber base gel, and let them dry under the UV light for 60 seconds (If it starts to burn you can lower the heat or they can remove their hands for a few seconds and then place them back in. It is completely normal, if it burns it simply means that their natural nails are very thin).
- You will next pick a gel polish color of your liking.
- Coat the nails with a thin layer of the gel polish (you do not want to put too much because then it will not dry correctly and it will create a wrinkled effect).
- After you’ve applied the first coat, dry them under the UV light for at least 60 seconds.
- Then apply a second coat of the gel polish and dry under the UV light for at least 60 seconds.
- If you are working with a thin gel polish, and the nail still look like they need a 3rd layer, apply it. However the standard is two layers, and you should try not to apply many more layers because then it will make the nails look clumpy, and we are going for a smooth effect.
- After you have finished applying the gel polish, you can add designs if you’d like, which you will see tutorials of later on.
- After everything is dry, take a no lint wipe, apply rubbing alcohol on it, and then wipe down all the nails.
- This will remove any hairs or dust stuck to your nails, and it will create a matt-like effect so that when you apply your top coat, you can make sure that you have applied it all over the nails (because if the nails are shiny and top coat is clear, it makes it difficult to tell whether or not you have applied it to every corner of the nail).
- Apply the clear top coat to all the nails.
- Let them dry under the UV light on the 99 second setting.
- After they’ve dried, run a dry part of your hand along the nails to make sure they are not sticky (if they are put them back in and let them dry longer).
- After they have fully dried take some cuticle oil and generously apply it to the cuticle area.
- Take lots of pictures!!
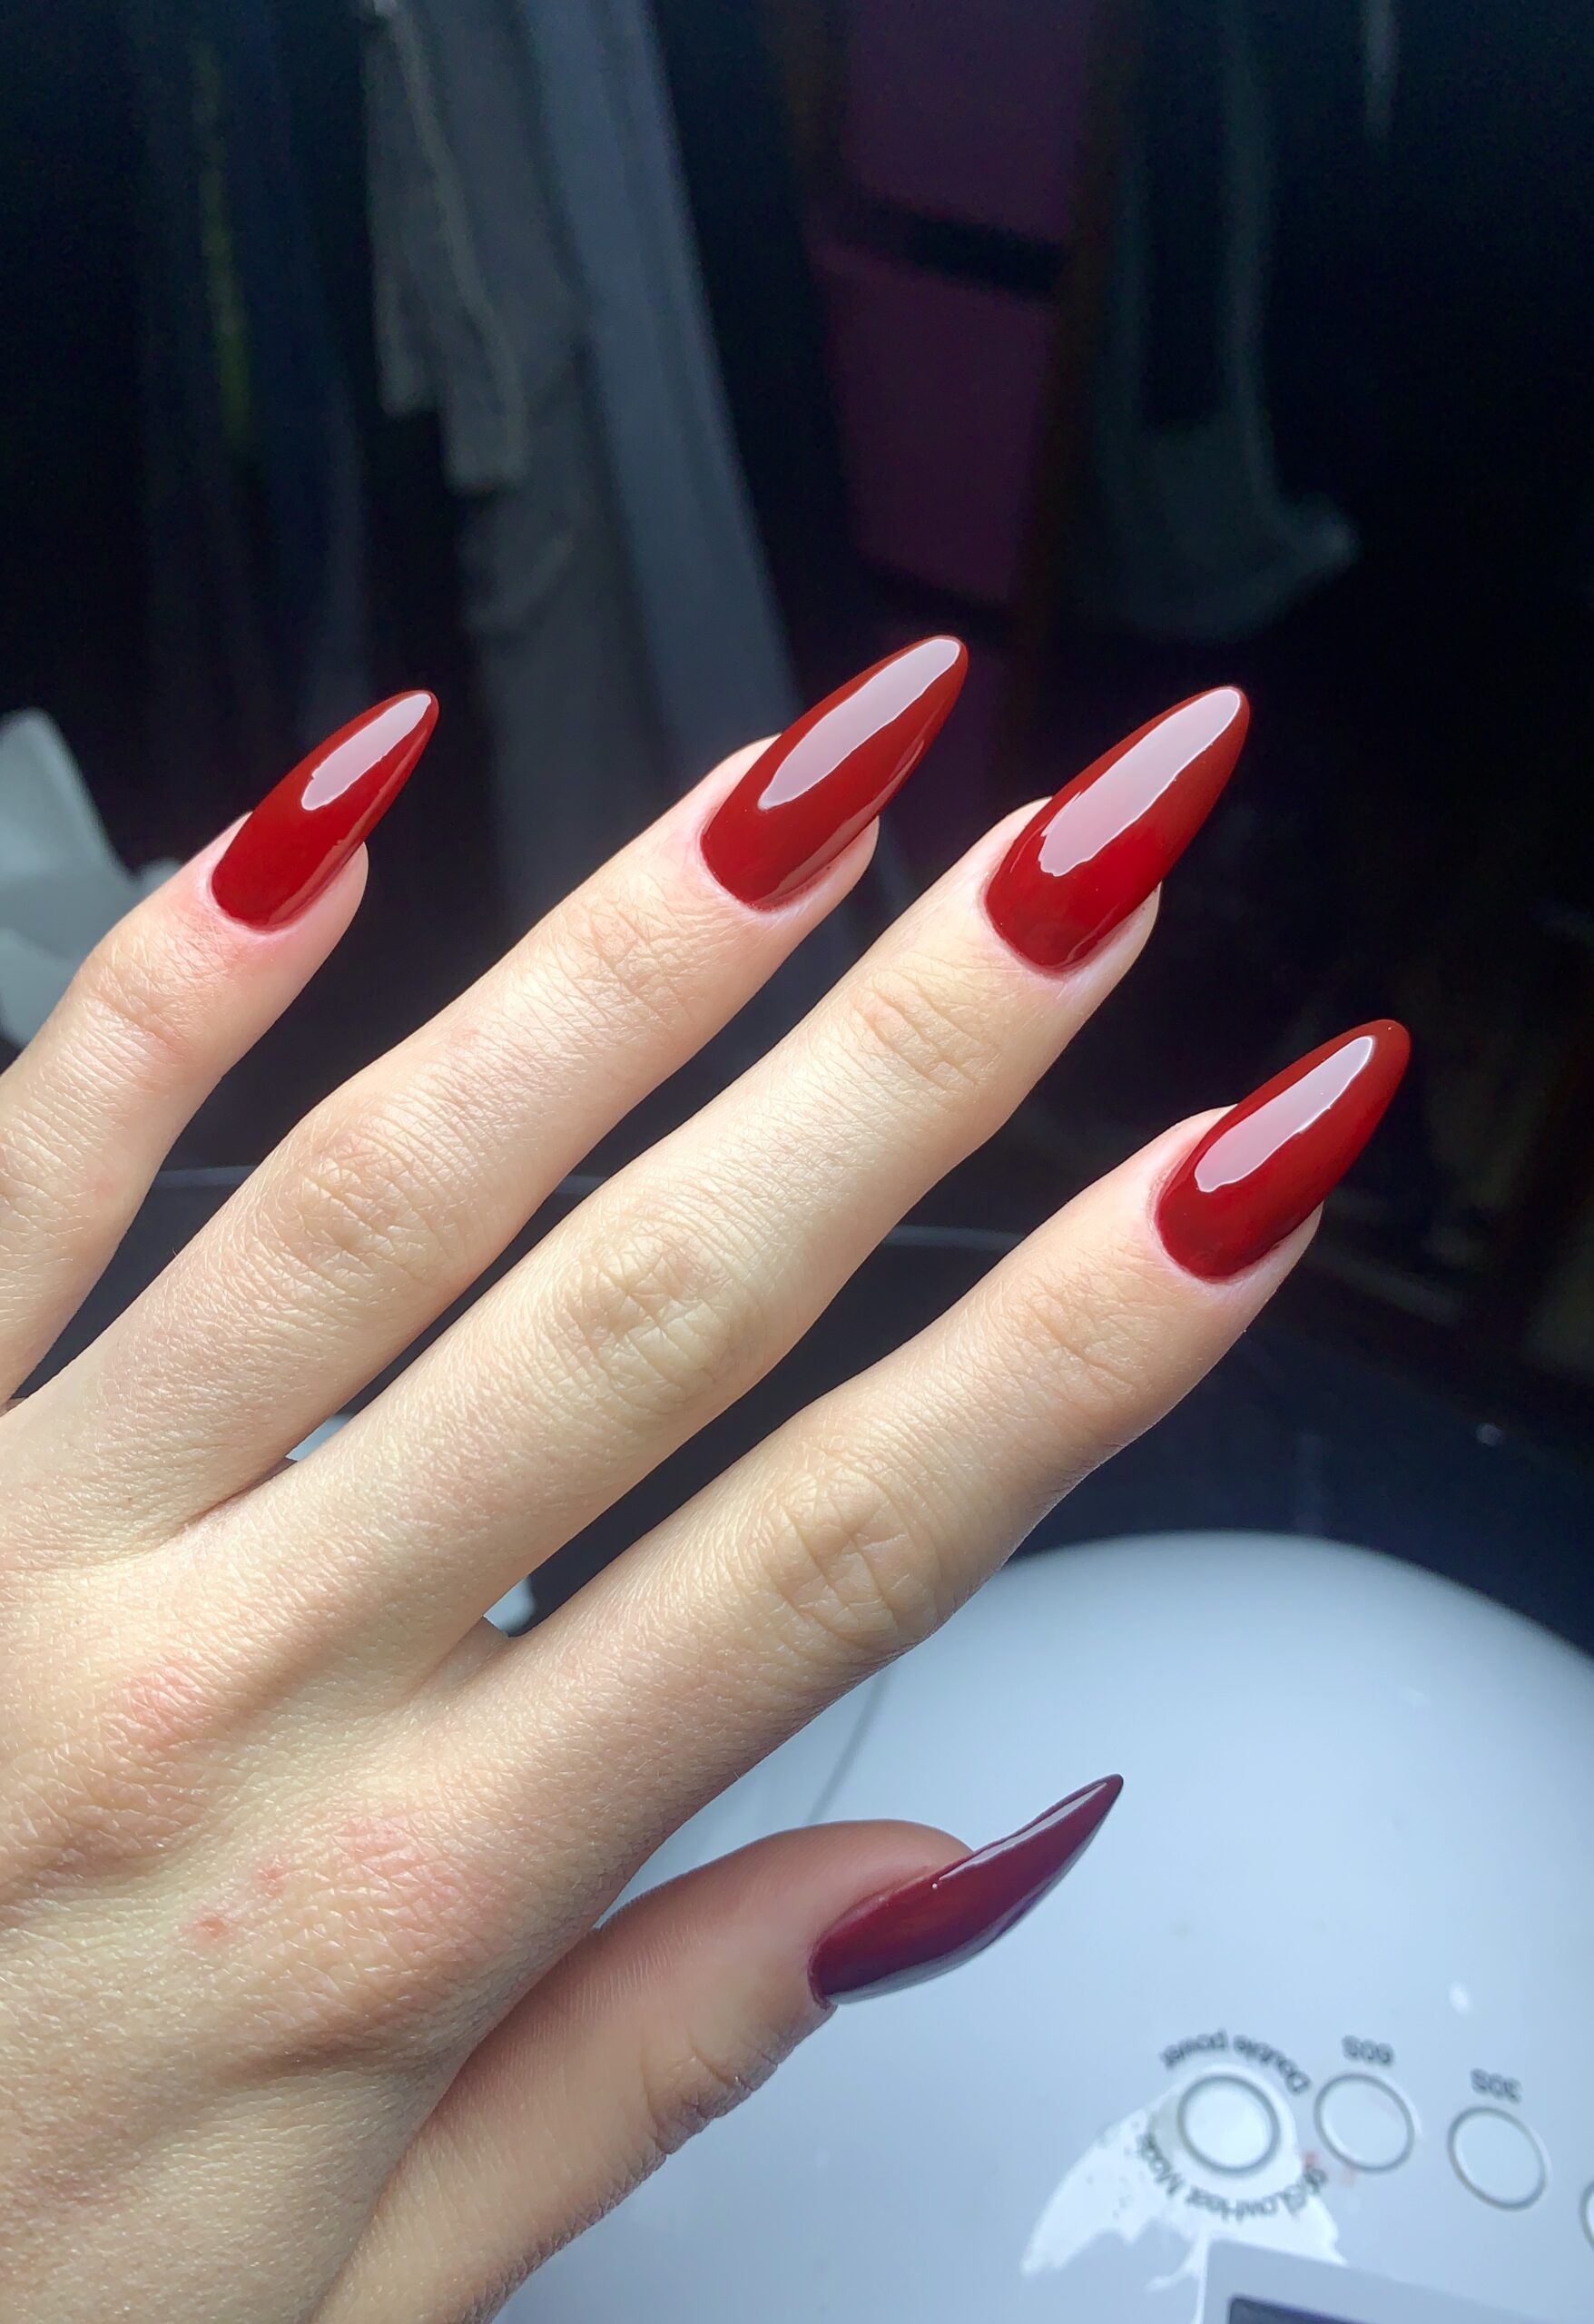
Here are the products you will need for this process:
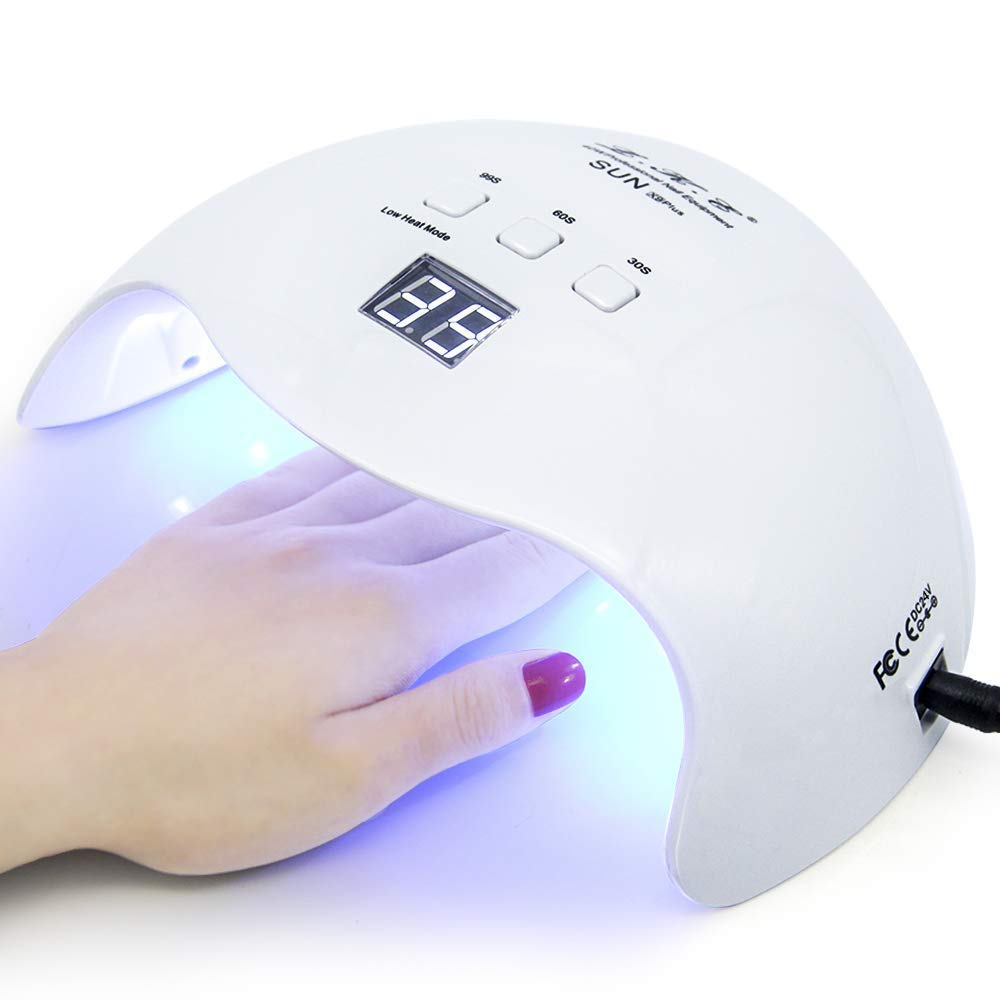
Nail UV lamp
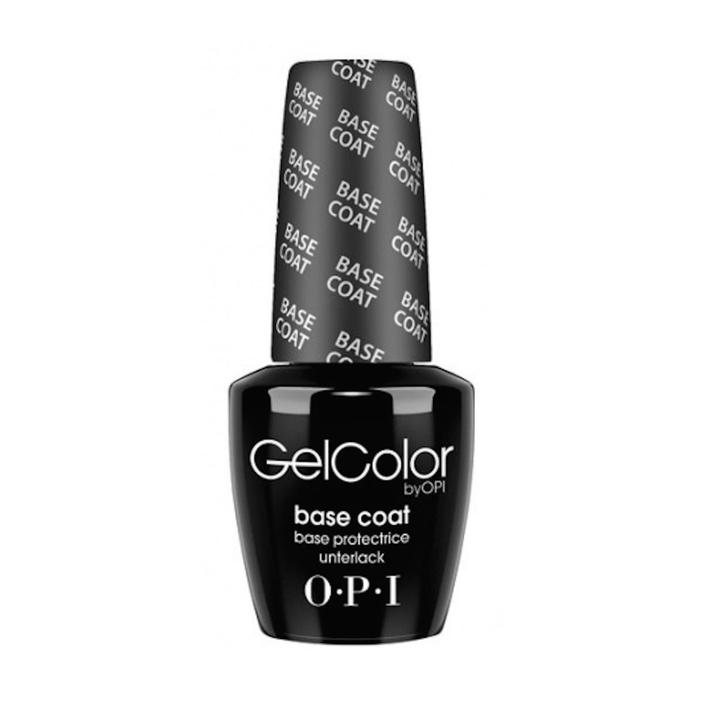
Gel Rubber Base coat
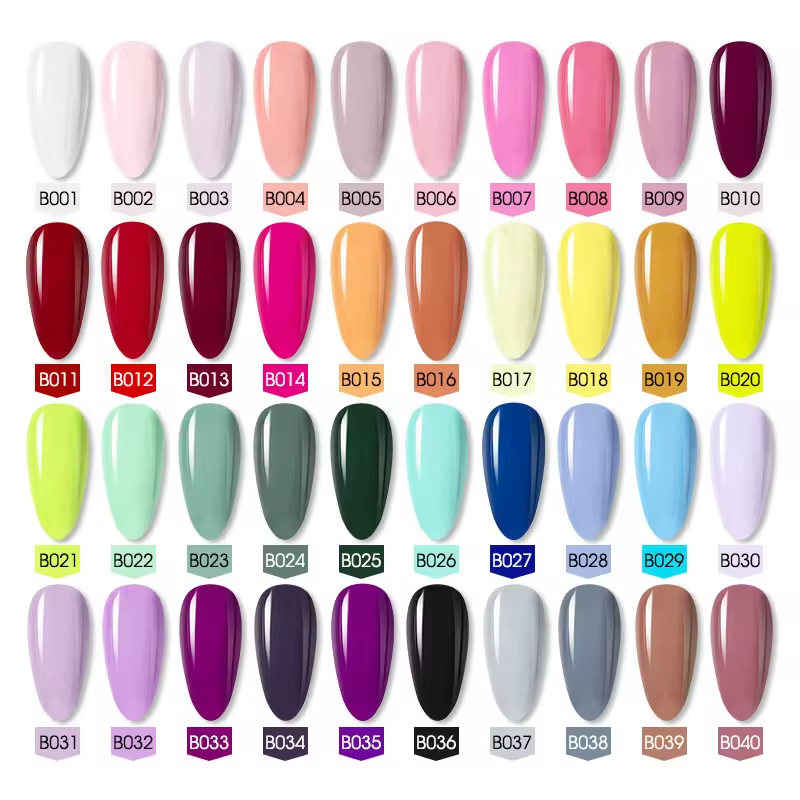
Gel Polish color
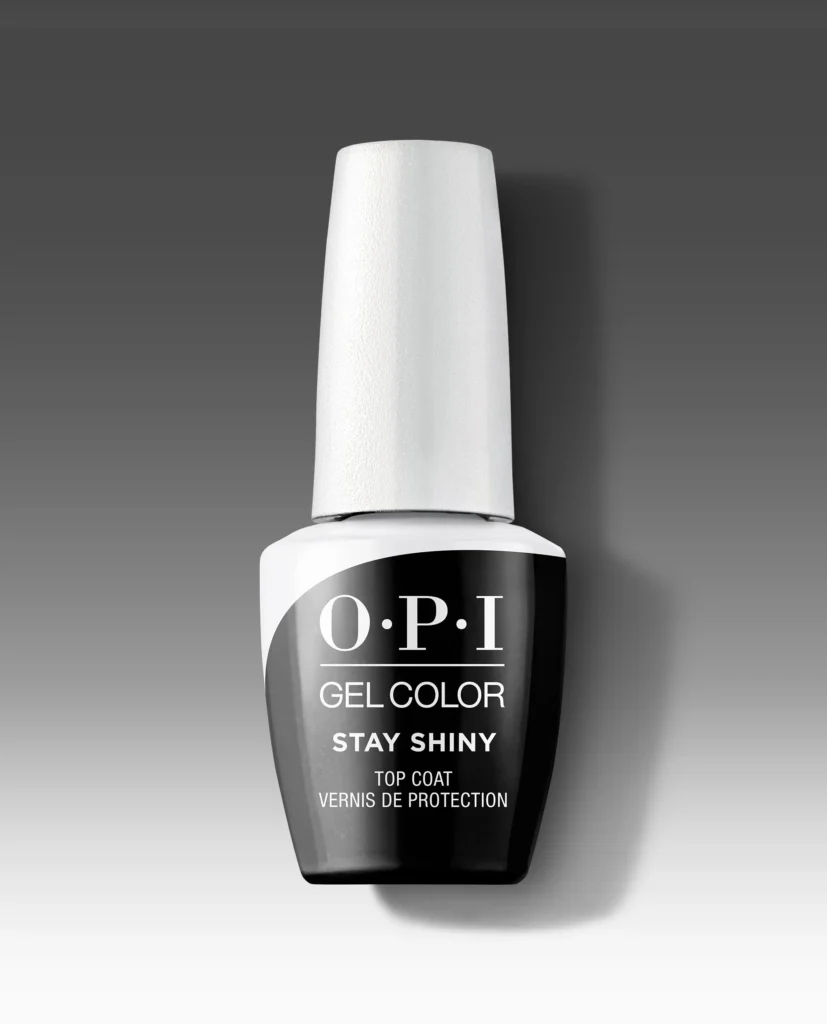
Gel Top Coat
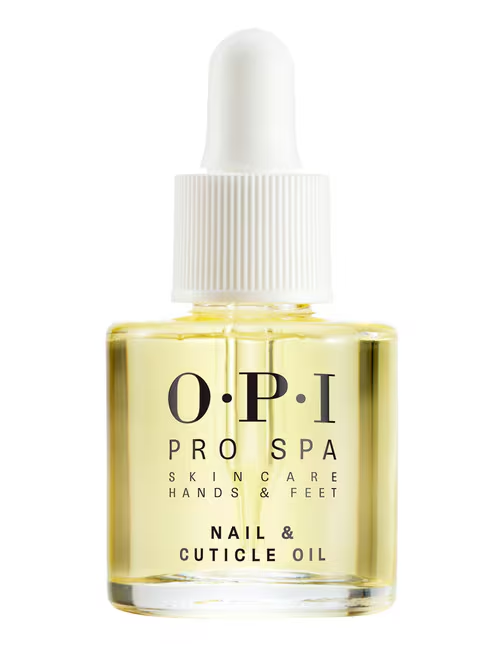
Cuticle oil